The Best Blueprint Farming Map in ARC Raiders
If you’re serious about progression in ARC Raiders, blueprint farming should be at the top of your priority list. ARC Raiders Blueprints are the backbone of long-term success—once you unlock them, you’re no longer dependent on RNG or vendors. As long as you have materials, you can craft weapons, gear, and utility items whenever you need them.
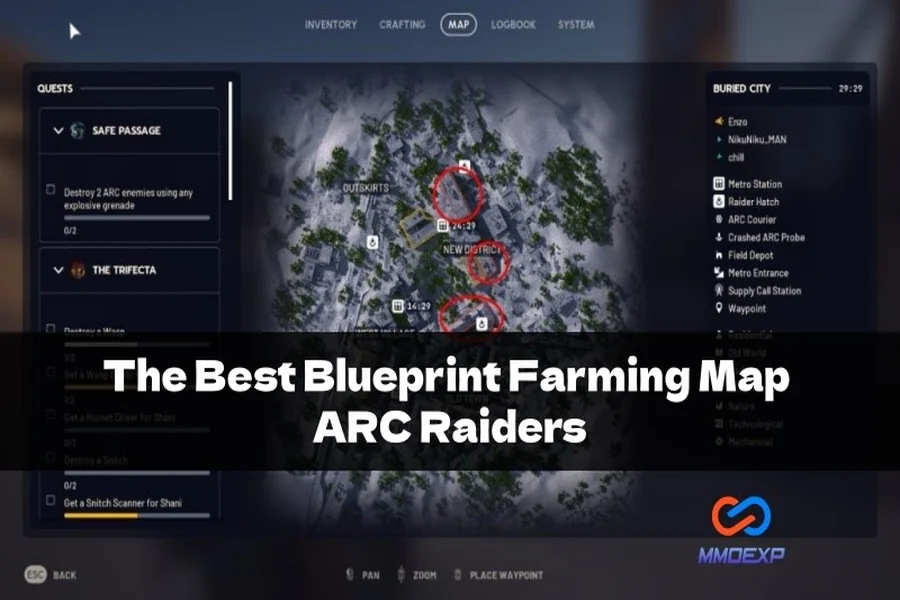
Among all available maps, Buried City stands out as the most consistent location for farming blueprints and credits, especially during day raids. With dense loot routes, multiple weapon case spawns, neglected buildings, and high-value key rooms, Buried City offers unmatched efficiency for players willing to learn its flow.
This article breaks down why Buried City works so well, how to route it efficiently, and what makes a successful run so profitable.
Loadout Philosophy: Speed, Space, and Survivability
Before even deploying, your loadout determines how successful your run will be.
For optimal Buried City farming, the focus should be:
- Loot capacity – A Looting MK2 backpack dramatically increases how many valuables and components you can extract.
- Reliable combat weapon – A fully attached Renegade is more than enough to deal with ARC threats and unexpected encounters.
- Mobility – Adrenaline or stimulant shots are essential for repositioning, escaping danger, and extracting safely.
- Traversal tools – A Snap Hook saves massive amounts of time by letting you bypass long routes and hit elevated loot spots faster.
This setup prioritizes speed and efficiency, which is crucial in Buried City, where the difference between arriving first or second can determine whether an entire building is untouched.
Opening Route: Pharmacy and Early Advantage
A fresh Buried City raid is rare—and extremely valuable. The opening push should be toward the Pharmacy near Plaza Rosa, even if you don’t have the closest spawn. While contested, arriving early often pays off because:
- Pharmacy loot consistently spawns attachments, bandages, and keys
- Raider Hatch Keys frequently appear here
- Items can be quickly broken down to conserve space
Even a “bad” pharmacy roll still provides mechanical components and early value. More importantly, it establishes momentum and gives you tools to access later exits.
Red Tower: Weapon Cases and High-Value Trinkets
From the pharmacy, the route naturally flows toward the Red Tower, one of the most underrated loot hubs in Buried City.
Key reasons this location is so strong:
- Weapon case spawns on ledges and interiors
- Backpack spawn points that can massively increase run value
- Consistent trinkets like:
- Cat beds
- Music albums
- Rubber footballs
Weapon cases alone can swing a run. Even when the weapon itself isn’t ideal, breaking it down into gun parts creates long-term crafting value while saving inventory space.
Santa Maria Houses: Quiet, Profitable, Efficient
One of the most reliable mid-run stops is the Santa Maria housing area.
Why it works:
- Often overlooked by rushing players
- High concentration of drawers, desks, and side rooms
- Frequent spawns of:
- Wine bottles (stackable, high credit value)
- Dart boards
- Projectors
- Bicycle pumps
- Processors
Even without a weapon case, this area can quietly generate tens of thousands of credits. Stackable valuables like wine bottles shine here, especially when inventory space becomes tight.
Research & Admin: The Most Neglected Goldmine
If there’s one location that consistently delivers above expectations, it’s Research and Admin. Many players skip it entirely, assuming it’s already looted. In practice, it’s often untouched.
What makes Research & Admin exceptional:
- Dense weapon spawns
- Lockers with seeds and valuables
- Desks that provide massive XP even when empty
- Advanced electrical and mechanical components
This area alone can push a run from “good” to “exceptional,” especially if you’re efficiently breaking down excess weapons into gun parts to maximize carry capacity.
Space Travel Building: Always Check the Lower Floors
A common mistake is assuming Space Travel is looted if the top floor is cleared. In reality:
- Lower floors and locker rooms are frequently untouched
- Trash cans can spawn springs and valuable materials
- Lockers regularly produce seeds, grenades, and trinkets
Even late in a raid, these floors can still be profitable. Always check them—it’s free value.
Buried City Hospital: Blueprint Jackpot
The Buried City Hospital is one of the strongest blueprint locations on the map, but only if you have the key.
Why the hospital is so powerful:
- The key is rare, meaning rooms are often untouched
- Multiple blueprint spawns in a single location
- High chance of:
- Defib blueprints
- Augment blueprints
- High-value medical loot
In a single run, it’s entirely possible to extract multiple blueprints, including new or high-demand ones like the TAC MK3 Revival. This alone justifies prioritizing Buried City over other maps.
Extraction Results: Why Buried City Wins
By the end of a strong Buried City run, it’s realistic to extract with:
- 150k–180k+ credits worth of loot
- Multiple blueprints
- Fully kitted weapons
- Enough materials to craft for days
The real strength of Buried City isn’t just raw money—it’s consistency. You can find blueprints in almost any building, valuables everywhere, and gear at every stage of the run.
Final Thoughts
Buried City rewards players who move quickly, loot intelligently, and understand which buildings others tend to ignore. If you run it consistently, your stash will snowball faster than anywhere else in ARC Raiders.
And within a few days, your inventory will look completely different.
That’s why Buried City remains the best map in ARC Raiders—and why mastering it is one of the smartest things you can do.
We hope you find this content useful while playing. For more ARC Raiders tutorials and buy ARC Raiders items and services, head over to MMOexp.